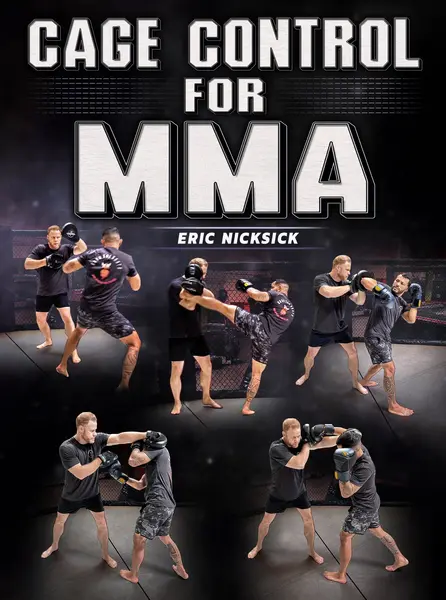
Master The Art Of Cage Control For MMA With Essential Lessons, Concepts, & Combat Strategies From 2020 Co-Coach Of The Year Eric Nicksick!
<!-- split -->
$97
Course content · 4 volumes · 70 chapters
1
Volume 1
- 1. Introduction
- 2. The Building Blocks Of Cage Awareness
- 3. Theories And Tactics For Cage Control
- 4. Warm Up - Cage Control Warm Up Lead Hands Only
- 5. Cage Control Warm Up Rear Hands Only
- 6. Cage Control Warm Up Two Hands
- 7. Cage Control Warm Up With Two Lead Hands
- 8. Cage Control Warm Up Two Lead Hands With A Alley Cross
- 9. Cage Control Warm Up Two Lead Hands Alley Cross With A Hook Variant
- 10. Cage Control Warm Up Two Lead Hands Alley Cross With Reload Variant
- 11. Cage Control Warm Up Two Lead Hands Alley Cross With Barão Variant
2
Volume 2
- 1. Technique Breakdown - Two Body
- 2. Two Body + Low Kick
- 3. Two Body + Low Kick + Return
- 4. Two Body + Low Kick + Switch Cross Hook
- 5. Two Body + Low Kick + Switch Cross Hook + Plant Cross
- 6. Two Body + Low Kick + Switch Cross Hook + Roll Back Hook
- 7. Two Body + Low Kick + Switch Croos Hook + Roll Back With Same Side Kick
- 8. Two Body + Low Kick + Switch Cross Hook + Roll Back With Reem
- 9. One Body
- 10. One Body + Lead Side Variant Hook
- 11. One Body + Lead Side Variant With A Kick
- 12. One Body + Roll Barão
- 13. One Body + Fit In
- 14. One Body + Step Over
- 15. One Body + Hendo Add On
- 16. One Body + Hendo + Post Cross
- 17. Fraizer And Trace Steps
- 18. Two Hands With The Frazier Both Stances
- 19. Two Hands With Double Frazier
- 20. Two Hands + Trace
- 21. Two Hands + Trace Both Stances
- 22. Two Hands + Double Trace
- 23. Two Hands + Blending Frazier And Trace
- 24. Two Hands + Trace + Frazier
- 25. Two Hands + Frazier Same Side Kick With Add On
- 26. Two Hands + Trace With Same Side High Kick
3
Volume 3
- 1. Roll Series - Jab Split
- 2. Jab Split + Two Hands Rear Pad
- 3. Jab Split + Two Hands + Roll Body
- 4. Roll Body + Low Kick + Return
- 5. Two Hands + Roll Body + Lead Upper Cut
- 6. Roll Monkey
- 7. Roll Money Swing With A Pull Counter
- 8. Monkey Over
- 9. Roll Monkey Fit In
- 10. Monkey Swing Fit In Pull Pop
- 11. Roll Barão
- 12. Roll Barão With Outside Post
- 13. Roll Barão + Inside Post With Elbow
- 14. Roll Barão + Inside Elbow + Fit In
- 15. Roll Barão + Jfk
- 16. Jfk Reload
- 17. Jfk Reload Same Side
- 18. Jfk Same Side With A Roll Back
- 19. Roll Barão Felder
- 20. Roll Barão Felder With Trace
- 21. Roll Barão Body
- 22. Roll Barão Joe B
4
Volume 4
- 1. Pressure Release Series - Pressure Release Concepts
- 2. Swing Back
- 3. Swing Back With A Reload
- 4. Swing Back With A Reload + Frazier
- 5. Swing Back With A Reload + Trace
- 6. Swing Back Out Of Both Stances
- 7. Swing Back Hiding The Alley
- 8. Swing Back Defending The Single Leg
- 9. Swing Back With A Reem
- 10. Conclusion
- 11. Flow Combinations
Linked to
More Instructionals
View all
$97.00