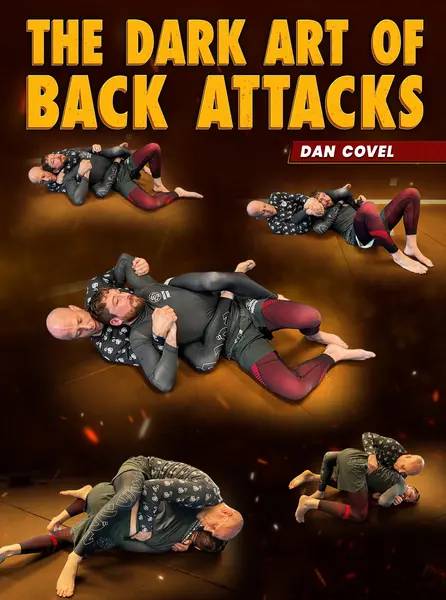
Control The Back And Finish The Fight With Secrets To Effective Grappling From Black Belt Dan Covel’s Blueprint to Getting The Tap
<!-- split -->
So, What Exactly Do You Get?
PART 1
BACK TAKES
PART 2
CONTROL / FINISHES
$97
Course content · 2 volumes · 27 chapters
1
Volume 1
- 1. Intro
- 2. Back Takes - Classic Knee in Shoulder Details
- 3. Hip Drag / Cross Face Knee In
- 4. Hip Drag / Cross Face False Hook Near Side
- 5. Hip Drag to Side Control to Fake Half to Back
- 6. Near Side Wrist and Ankle Pull
- 7. Re-Pummeling the Legs to Back Takes
- 8. Un-Pummel to Step Over to Retake the Back
2
Volume 2
- 1. Control / Finishes - Importance of Falling to Underhook Side and Kimura Grip
- 2. Feet to Hips to Triangle to Armlock
- 3. Knee Over Trap Shoulder
- 4. Knee Over to Heel Down Hip Out to Triangle
- 5. Inverted Kimura Finish Off Triangle
- 6. Knee Trap to Heel Down to Straight Armlock
- 7. Knee Trap Heel Down to RNC
- 8. Knee Trap - Avoid Opponent Catching Legs - to Kimura Finish
- 9. Knee Trap to Crucifix to Cross Face Back to Hooks
- 10. Body Triangle to Wrist Ride to RNC
- 11. Body Triangle to Wrist Ride Chicken Wing to RNC
- 12. Body Triangle - Bring Top Arm Over - Leg Control Armlock
- 13. Body Triangle to Shoulder Crank to RNC
- 14. Opponent Goes to Overhook Side - Armlock Finish
- 15. Twister When Opponent Forces Bottom Hook Out
- 16. Regain Back Control When Opponent Forces Bottom Hook Out
- 17. Body Triangle to Turn Opponent to Belly Down to Arm Lock
- 18. Body Triangle to Crossface to Knee Heel Down to RNC
- 19. Outro
Linked to
Taught by
More Instructionals
View all

$97.00