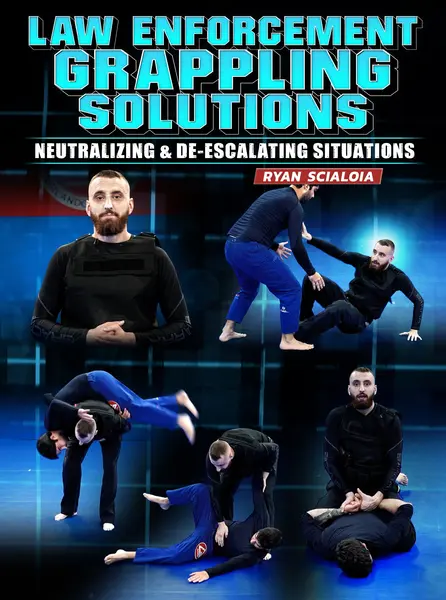
Use Ultra-Effective Grappling Systems to Control and Neutralize Subjects and Defend Yourself In a Multitude of Law Enforcement Based Scenarios
- Learn grappling solutions for some of the most commonly encountered scenarios in all of law enforcement with BJJ Black Belt and self defense expert Ryan Scialoia
- Use perfectly selected submission tactics to gain compliance and secure handcuffs on to a resisting subject
- Master the basics of positional control to help you stay dominant and safe in your exchanges on the ground
<!-- split -->
DOUBLE LEG WALL TAKEDOWN
HALF GUARD AND DILEMMA WORK
POSITIONAL HEADLOCK ESCAPE 6
BACK CONTROL ARM ISOLATION
CONCLUSION
$77
Course content · 4 volumes · 108 chapters
1
Volume 1
- 1. Takedown Standing Self Defense - Introduction
- 2. Know your limits
- 3. Backward Break Fall
- 4. Side Break Fall
- 5. Front Break Fall
- 6. Front Roll
- 7. Standing up at base
- 8. Bridging
- 9. Shrimping - front view
- 10. Shrimping - side view
- 11. Kicking applications
- 12. Four Step System Explained
- 13. Preconceived notions of fighting
- 14. Major Concepts Takedown 1 Body Fold TakeDown
- 15. Major Concepts Takedown 2 Front Body Lock - Leg Hook
- 16. Major Concepts Takedown 3 - Knee tap
- 17. Major Concepts Takedown 4 - O-goshi Hip Throw
- 18. Rear Body Lock Series - Major Concepts
- 19. Rear Body Lock Series - Takedown 1
- 20. Rear Body Lock Series - Takedown 2 Foot sweep
- 21. Rear Body Lock Series - Takedown 3 Hip Crunch
- 22. Rear Body Lock Series - Takedown 4 Suplex Variation 1
- 23. Rear Body Lock Series - Takedown 4 Suplex Variation 2
- 24. Connecting Rear Body Lock and Single
- 25. Single Leg Takedown 1 - Knee Manipulation
- 26. Single Leg Takedown 2 - Foot Sweep
- 27. Single Leg Takedown 3 - Leg Trip High Amplitude
- 28. Single Leg Takedown 4 - Osoto-Gari
- 29. Moving the bad guy out of the area
- 30. Punches and Closing Distance
- 31. Kick defenses
- 32. Bear Hug Defense
- 33. Rear Naked Choke Defense 1
- 34. Rear Naked Choke Defense 2
- 35. Front Headlock Defense - Guillotine
- 36. Uniform - Clothing Grab
- 37. Double Leg Wall Takedown
2
Volume 2
- 1. Guard Position - Opening Concepts and Preface
- 2. Punch Block Series
- 3. Standing up from Closed Guard
- 4. Tripod Sweep 1
- 5. Tripod Sweep 2
- 6. Tripod to standing single leg
- 7. Arm drag back take 1
- 8. Take the back 2
- 9. Pendulum Sweep
- 10. Knee lever Sweep
- 11. Butterfly Guard Sweep
- 12. Half guard and dilemma work
3
Volume 3
- 1. Positional Control Defense - Positional Overview
- 2. Trap Bridge and Roll Escape 1
- 3. Trap Bridge and Roll Escape 2
- 4. Trap Bridge and Roll Escape 3
- 5. Positional Elbow Escape 1
- 6. Positional Elbow Escape 2
- 7. Positional Elbow Escape 3
- 8. Almighty Underhook
- 9. Positional Headlock Escape 1
- 10. Positional Headlock Escape 2
- 11. Positional Headlock Escape 3
- 12. Positional Headlock Escape 4
- 13. Positional Headlock Escape 5
- 14. Positional Headlock Escape 6
- 15. Positional Control Offense - Knee on Belly - arm isolation 1
- 16. Knee on Belly - arm isolation 2
- 17. Knee on Belly - arm isolation 3
- 18. Knee on Belly - arm isolation 4
- 19. Knee on Belly - arm isolation 5
- 20. Positional Offensive - Side Control Pref
- 21. Side Control Arm Isolation 1
- 22. Side Control Arm Isolation 2
- 23. Side Control Arm Isolation 3
- 24. Side Control Arm Isolation 4
- 25. North South Arm Isolation 1
- 26. North South Arm Isolation 2
- 27. North South Arm Isolation 3
- 28. Mount Control Overview Arm Isolation 1
- 29. Mount Control Arm Isolation 2
- 30. Mount Control Arm Isolation 3
- 31. Mount Control Arm Isolation 4
- 32. Mount Control Arm Isolation 5
- 33. Mount Control Arm Isolation 6
- 34. Back Control Concepts
- 35. Back Control Elbow Wrist Sweep
- 36. Back Control Chair Sitting
- 37. Back Control Arm Isolation
4
Volume 4
- 1. Submission and Handcuffing Procedure - Strangulation Safety
- 2. Rear Naked Choke Details
- 3. RNC Variation 1 - Rickson Gracie
- 4. RNC Variation 2
- 5. RNC Variation 3
- 6. Developing your Squeeze
- 7. Handcuffing Procedure - Gift Wrap Method
- 8. Handcuffing Procedure - Shelving Method
- 9. Handcuffing Procedure - Kimura Method
- 10. Systematically Handcuffing Everyone
- 11. Kimura Overlap Setups
- 12. Kimura Submission - Knee on Belly
- 13. Kimura Palm Down Setup
- 14. Kimura Palm up Setup
- 15. Hidden Hand Kimura - Turtle
- 16. Kimura 360 Degrees of Motion
- 17. Kimura Grip Separation - hands behind back
- 18. Kimura from the Bottom 1 - Weapon Retention 1
- 19. Kimura from the Bottom 2
- 20. Kimura from the Bottom 3
- 21. Two Person Handcuffing Procedure Consideration
- 22. Conclusion
Linked to
More Instructionals
View all
$79.00