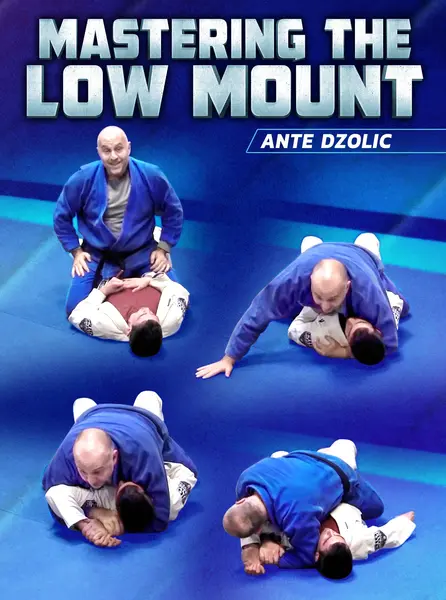
Study the low mount which is one of the hardest mounts to lose, and maximize your effectiveness with Ante Dzolic
- Learn not only how to maintain the low mount, but pick up a ton of high percentage offensive and start finishing submissions from here every time.
- Dive into a concept module, a control module, and 2 different attacking modules in this series and master every aspect of the low mount.
- Understand how to use this position to transition to other high percentage positions such as the back.
- INTRODUCTION
-
PRIMARY ATTACKS
- CONTROL & LIMITING THE OPPONENT'S DEFENSIVE OPTIONS
- SHOULDER PRESSURE
- WEIGHT DISTRIBUTION
- USING THE SPIKE AND THE WEDGE TO STOP THE BRIDGE AND ROLL
- HIDING THE FEET
- HEAD ALIGNMENT
- A SIMPLE GUIDE TO PICKING YOUR ATTACKS
- THE HOOK & POST CONTROL I (SHOULDER AND HIPS PRESSURE)
- THE HOOK & POST CONTROL II (SWITCHING THE FOOTBALL)
- THE HOOK & POST CONTROL III (THE LOWER BODY HOOK & POST)
- THE HOOK & POST CONTROL IV (FUNNELING OPPONENTS DEFENSE TO ONE SIDE)
- THE HOOK & POST CONTROL V (DEFENDING THE POST)
- THE HOOK & POST CONTROL VI (DEFENDING THE POST WITH AN UNDER HOOK)
- THE EZEKIEL CHOKE
- THE EZEKIEL CHOKE TO THE AMERICANA
- THE AMERICANA TO THE HEADWRAP AMERICANA
- THE AMERICANA TO THE ARM BAR
- CLIMBING FOREARMS
- SWITCHING SIDES VS STRONG GRIP
- THE EZEKIEL CHOKE TO ARM TRIANGLE
- COUNTERING COMMON ARM TRIANGLE DEFENSES
- ARM TRIANGLE TO BACK TAKE
- SEATBELT WITH THE OPEN ELBOW SERIES I (POSITIONAL CONTROL)
- SEATBELT WITH THE OPEN ELBOW SERIES II (ARM TRIANGLE)
- SEATBELT WITH THE OPEN ELBOW SERIES III (ARM TRIANGLE TO WRIST LOCK)
- SEATBELT WITH THE OPEN ELBOW SERIES IV (REVERSE ARM LOCK)
- WHEN WE CAN'T GET UNDER THEIR HEAD: THE CROSS COLLAR CHOKE
- WHEN WE CAN'T GET UNDER THEIR HEAD: THE CROSS COLLAR CHOKE TO ARM BAR
-
WHEN WE CAN'T GET UNDER THEIR HEAD: ARM BAR TO CHOKE
$67
Course content · 2 volumes · 31 chapters
1
Volume 1
- 1. Concepts Module - Introduction
- 2. Primary Attacks
- 3. Control & Limiting the Opponent’s Defensive Options
- 4. Shoulder Pressure
- 5. Weight Distribution
- 6. Using the Spike and the Wedge to Stop the Bridge and Roll
- 7. Hiding the Feet
- 8. Head Alignment
- 9. A Simple Guide to Picking Your Attacks
- 10. Control Module - The Hook & Post Control I (Shoulder and Hips Pressure)
- 11. The Hook & Post Control II (Switching the Football)
- 12. The Hook & Post Control III (The Lower Body Hook & Post)
- 13. The Hook & Post Control IV (Funneling Opponents Defense to One Side)
- 14. The Hook & Post Control V (Defending the Post)
- 15. The Hook & Post Control VI (Defending the Post with an Under Hook)
2
Volume 2
- 1. Attacks Module I - The Ezekiel Choke
- 2. The Ezekiel Choke to The Americana
- 3. The Americana to The Headwrap Americana
- 4. The Americana to The Arm Bar
- 5. Climbing Forearms
- 6. Switching Sides vs Strong Grip
- 7. The Ezekiel Choke to Arm Triangle
- 8. Countering Common Arm Triangle Defenses
- 9. Arm Triangle to Back Take
- 10. Attacks Module II - Seatbelt with the Open Elbow Series I (Positional Control)
- 11. Seatbelt with the Open Elbow Series II (Arm Triangle)
- 12. Seatbelt with the Open Elbow Series III (Arm Triangle to Wrist Lock)
- 13. Seatbelt with the Open Elbow Series IV (Reverse Arm Lock)
- 14. When we Can’t Get Under their Head: The Cross Collar Choke
- 15. When we Can’t Get Under their Head: Cross Collar Choke to Arm bar
- 16. When we Can’t Get Under their Head: Arm Bar to Choke
Linked to
More Instructionals
View all
$79.00