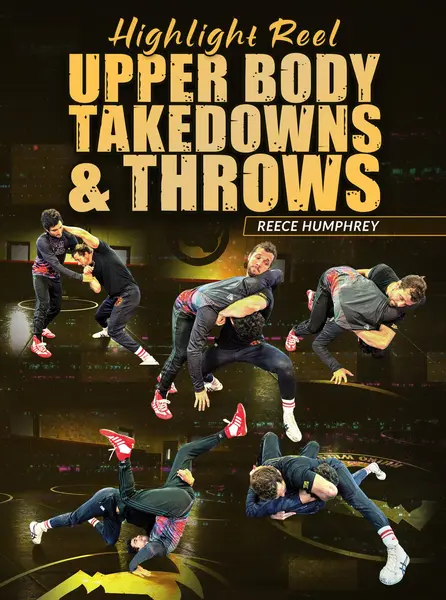
Highlight Reel Upper Body Takedowns and Throws by Reece Humphrey
$79.00
<!-- split -->
- Introduction
- Duck under Positioning - Outside Duck Positioning
- Outside Duck Footwork
- Front Duck Footwork
- Middle Duck Footwork
- Duck Under Setups and Finishes - Setup #1 - Tricep Tie
- Setup #2 - Elbow Tie
- Setup #3 - Underhook
- Setup #4 - Overhook
- Setup #5 - From Wrist Control
- Setup #6 - From Opponent's Front Headlock
- Setup #7 - From Opponent's 2 On 1
-
Highlight Throws - Gaining The Body Lock Position
- Throwing Drill
- Finishing The Body Lock
- Step Around Option #1 - Under Position
- Step Around Option #2 - Double Underhooks
- Step Around Option #3 - Double Overhooks
- Step Around Option #4 - Lateral Drop
- Headlock (Drag and Punch)
- Headlock (Big Throw)
- Sag Hip Toss
- Hip Toss (Big Throw)
- How to Secure The Fall
- Bonus Freestyle Move: Neck Wrench
- Outro
$77
Course content · 4 volumes · 26 chapters
1
Volume 1
- 1. Introduction
- 2. Duck Under Positioning - Outside Duck Positioning
- 3. Outside Duck Footwork
- 4. Front Duck Footwork
- 5. Middle Duck Footwork
2
Volume 2
- 1. Duck Under Setups And Finishes - Setup #1 - Tricep Tie
- 2. Setup #2 - Elbow Tie
- 3. Setup #3 - Under Hook
- 4. Setup #4 - Over Hook
- 5. Setup #5 - From Wrist Control
- 6. Setup #6 - From Opponent's Front Headlock
- 7. Setup #7 - From Opponent's 2 on 1
3
Volume 3
- 1. Highlight Throws - Gaining The Body Lock Position
- 2. Throwing Drill
- 3. Finishing The Body Lock
- 4. Step Around Option #1 - Under Position
- 5. Step Around Option #2 - Double Under Hooks
- 6. Step Around Option #3 - Double Over Hooks
- 7. Step Around Option #4 - Lateral Drop
4
Volume 4
- 1. Head Lock (Drag And Punch)
- 2. Head Lock (Big Throw)
- 3. Sag Hip Toss
- 4. Hip Toss (Big Throw)
- 5. How To Secure The Fall
- 6. Bonus Freestyle Move: Neck Wrench
- 7. Outro
Linked to
More Instructionals
View all
$79.00