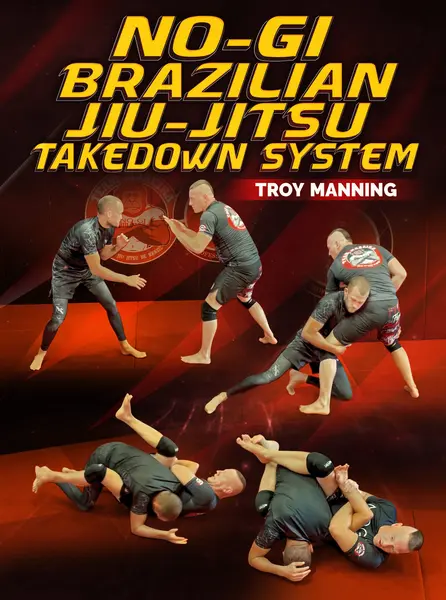
Learn a Complete No Gi Takedown System That will Supercharge Your Stand Up Game with Best Selling 2nd Degree BJJ Black Belt and World Renowned Instructor Troy Manning .!
- Troy Manning is highly respected BJJ Coach and Founder of The No Gi Jiu-Jitsu Academy that continually releases effective BJJ gold for ALL levels.
- Whether you're a student looking to get the edge or an instructor searching for the perfect format to introduce takedowns to your students this is the perfect series for you.
- From footwork, to set-ups, defense, and multiple takedowns, Manning has you covered in this extensive guide to mastering the stand up game.
- Take the intimidation factor out of the takedown game.
<!-- split -->
IMANARI ROLL
TWO ON ONE TO SINGLE LEG
ARM DRAG TO BACK TAKE INSIDE TRIP FORWARD ROLL TO BACK TAKE
DOUBLE UNDER HOOK DEFENCE TO 50/50
$77
Course content · 4 volumes · 84 chapters
1
Volume 1
- 1. Introduction
- 2. Wrestling footwork
- 3. Double Leg Takedown Standing
- 4. Double Leg Going Down to Knee
- 5. Double Leg if They Sprawl
- 6. Double Leg Defence Sprawl
- 7. Double Leg Defence to Kimura
- 8. Single Leg Entry
- 9. Single Leg Head on Inside
- 10. Single Leg Pickup and Sweep
- 11. Single Leg to Back Takedown
- 12. Single Leg Defence Shoulder Drive
- 13. Single Leg Defence Kimura Throw
- 14. Single Leg Defence 4/11
- 15. Counter Defence from Single Standing Ashi
- 16. Counter Single Leg Defence X Guard to Cross Ashi
- 17. High Crotch Entry
- 18. High Crotch to Double Leg
- 19. High Crotch to Back Take
- 20. High Crotch Kettle Bell Swing
- 21. Imanari Roll
2
Volume 2
- 1. Neck Tie Entry
- 2. Neck Tie to Double Leg
- 3. Neck Tie to High Crotch Double Leg or Back Take
- 4. Neck Tie to Firman Takedown
- 5. Neck Tie to Single Leg
- 6. Standing Guillotine Rolling Guillotine Rolling Anaconda
- 7. Neck Tie to Turtle Position
- 8. Neck Tie to Head Toss
- 9. Neck Tie to Ankle Pick
- 10. Neck Tie to Head Drive on Knee
- 11. Guillotine Defence
- 12. Defending the Neck Tie Two On One
- 13. Two On One to Ankle Pick
- 14. Two On One to Turtle Positions
- 15. Two On One Sacrifice Throw
- 16. Two On One to High Crotch to Double Leg or Back Take
- 17. Two On One to Firemen Throw
- 18. Two On One Counter Wrist Grab to Firemen Throw
- 19. Two On One Back Take
- 20. Two On One to Single Leg
3
Volume 3
- 1. Defending Two on One Takedown to Twister Control
- 2. Defending Two on One to Hip Throw
- 3. Defending Two on One Under Hook Control
- 4. Defending Two on One High Crotch Double Leg or Back Take
- 5. Defending Two on One to Far Side Double Leg
- 6. Under Hook Control Entry
- 7. Under Hook Control to Single Leg
- 8. Under Hook Control to High Crotch Double Leg or Back Take
- 9. Under Hook Control to Turtle Control
- 10. Under Hook Control if they Lift Head go to High Clinch Outside Leg Trip to Half Guard
- 11. Under Hook Control to Knee Pick
- 12. Under Hook Control if they Defend Knee Pick go far Side Double Leg
- 13. Defending Under Hook Control to Shoulder Lock or High Crotch Double or Take Back
- 14. Under Hook Control if they Turn in Grab Tricep to Back Take
- 15. Under Hook Control if they Turn in Grab Wrist to Arm Drag
- 16. 50/50 Drill
- 17. 50/50 to Inside Trip
- 18. 50/50 to Corkscrew Takedown
- 19. 50/50 to Shoulder Throw
- 20. 50/50 to Hip Throw
- 21. 50/50 Sacrifices Throw
- 22. 50/50 to Firemen Throw High Crotch or Back Take
- 23. Double Under Hook Control Back Take, Body Fold or Defend to Back Roll
- 24. Arm Drag to Back Take Inside Trip Forward Roll to Back Take
4
Volume 4
- 1. Back Control Basic Takedown
- 2. Back Control to Body Trip
- 3. Back Control Leg Loop to Back Take
- 4. Back Control to Lift and Knee Tap
- 5. Back Control to 50/50 Heel Hook
- 6. Back Control Defence Rolling Knee Bar or 4/11
- 7. Back Control Defence to Step Behind Throw or Takedown to Twister Control
- 8. Back Control Defence Scoop Elbow or Kimura Throw
- 9. Wall Control Basic Double Leg
- 10. Wall Control to Double Leg Lift Up
- 11. Wall Control Pull Legs Out Double Leg
- 12. Wall Control to Basic Single Leg
- 13. Wall Control to Leg on Outside to Single Leg
- 14. Wall Control if they Counter Single Leg go to Inside Trip
- 15. Wall Control to Arm Drag
- 16. Wall Control to Outside Leg Trip
- 17. Wall Control to Ankle Pick
- 18. Defending Double Leg of the Wall
- 19. Double Under Hook Defence to 50/50
Linked to
More Instructionals
View all
$79.00